Gardeners….It’s Seed Ordering Time!

The garden catalogs are arriving in my mailbox, and I scan the pages, dreaming of wonderful plants for the spring, summer and fall.  The neat thing is that I get the paper catalog (okay, I’m a throw-back and love to touch it, see it, and feel it), but I can order online! Best of both possible worlds.

Seed catalogs

My favorite seed companies each have a unique offering.

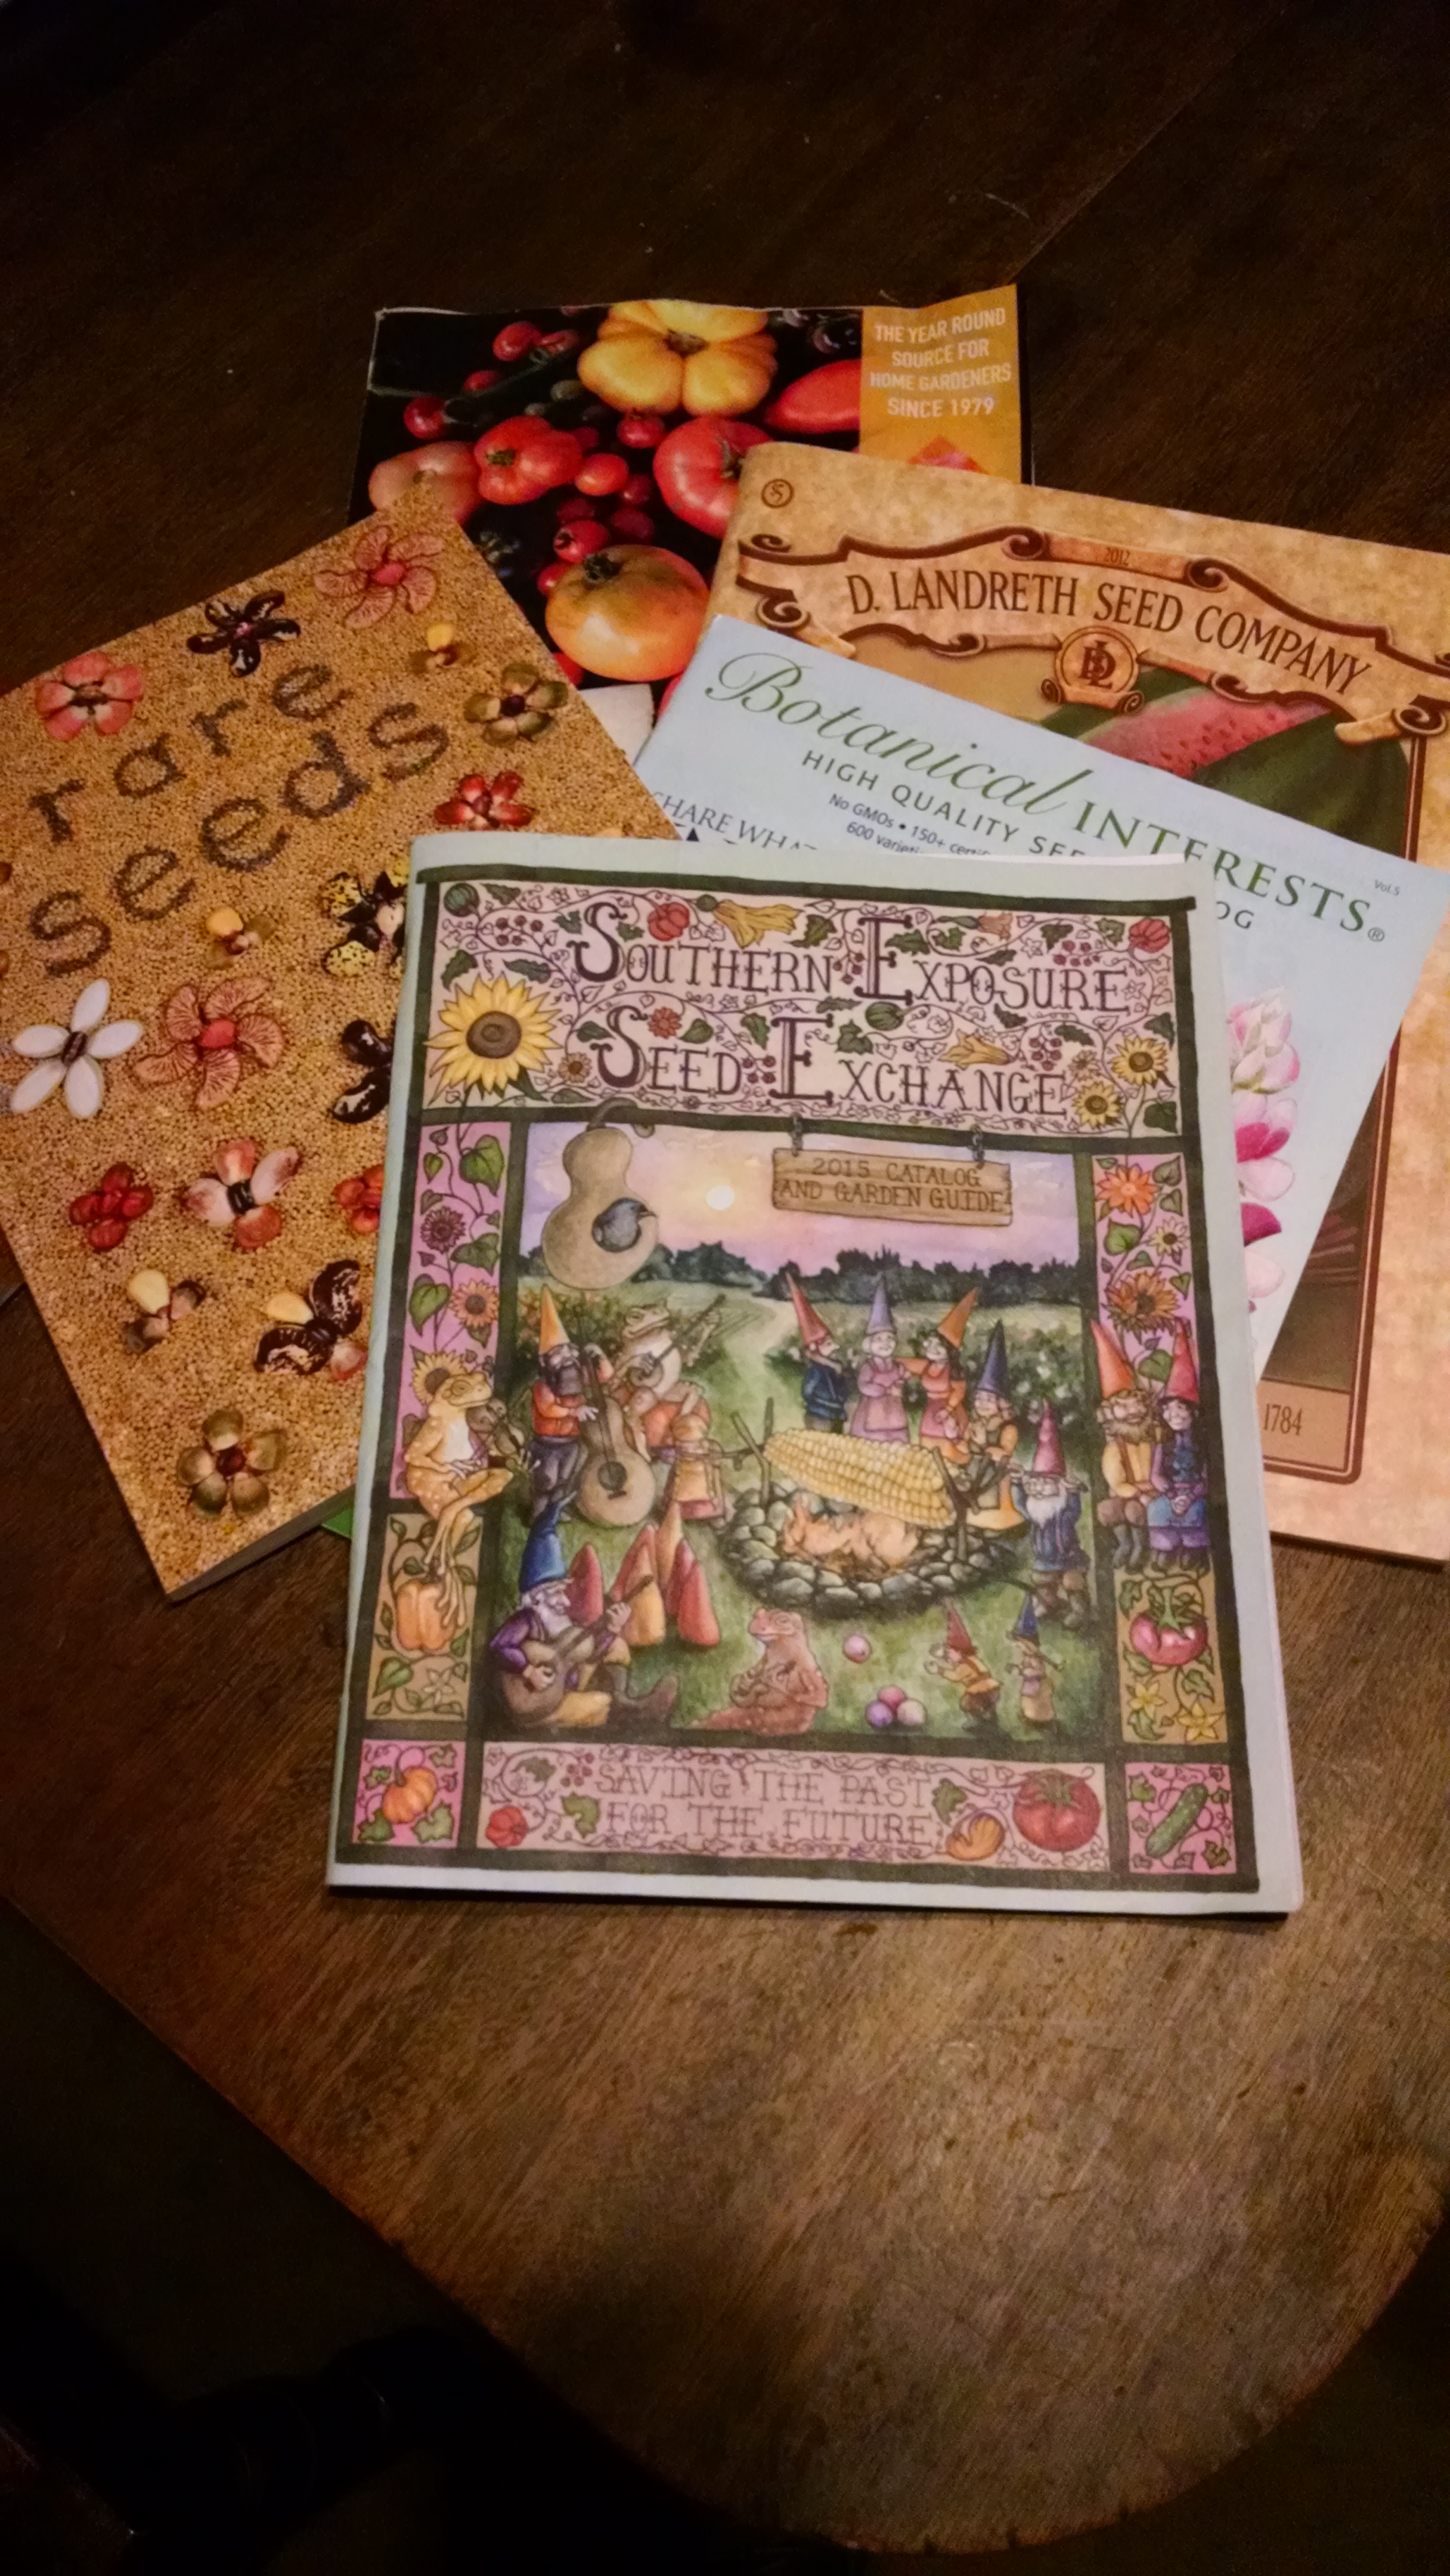
The Southern Exposure Seed Exchange (www.southernexposure.com) is located in Virginia, so I can be assured that the varieties they offer are probably going to work in Texas. I love reading the descriptions of their offerings.  All seeds are coded for those best suited for the Southeast, heirloom, ecologically grown and USDA certified organic.   The heirloom varieties often have an indication of when they were “discovered” and where they originated.  For example, “Fish Pepper…African-American heirloom from MD.” or for carrots…”Chantenay Red Core…introduced from France in the late 1800s.” or “Cosmic Purple…yellow and purple carrots were first recorded in Asia Minor in the 10th c. For the first few hundred years of managed cultivation, carrots were predominantly purple.”  Wow!  A history lesson along with descriptions.  SESE also carries grains and cover crops:  want sesame? hairy vetch? red clover, sorghum and broom corn?  They have seeds!

Baker Creek Heirloom Seeds (www.rareseeds.com) perhaps has the most extensive catalog – it’s almost like a thin book!  Baker Creek is located in Mansfield, MO, so I can be assured that I can find varieties that will work well in Texas. They carry vegetables, herbs and flowers. I can also get flax if I care to try growing fiber crops.  The pictures are incredible.  One eggplant that caught my eye was the Turkish Orange. It’s described as coming from Turkey. “The 3” round fruit are best cooked when they are green to light orange.”

Botanical Interests (www.botanicalinterests.com) is located in Colorado.  But it has some very interesting varieties and a wonderful selection (3 varieties) of Texas Bluebonnets in their flower section. I think one of the heirlooms I’m going to try this year is the Scabiosa Pincushion Flower. It’s described as “Perennial. Blooms summer through fall.” Sounds wonderful with blue-purple and white flowers. On the peppers page, I learned that peppers have been around since 7500 BC and are cultivated around the world. Columbus brought the spicy pods back to Spain and about 50 years later “they were being grown throughout Europe, the Mediterranean, the Middle East, Asia and the African coast.”  The selections are not quite as extensive as offered from some of the other seed merchants, but there are good, solid varieties.


The Landreth Seed Company, “purveyors of find seed since 1784,” is based in Pennsylvania (www.landrethseeds.com). Their catalog has the look of an heirloom.  They even have a section specifically for a children’s garden. Vegetables offered are selected for their interest, such as purple plum radishes, African mini-bottle gourd, and Mexican sour gherkin.  All varieties that are selected for their potential attractiveness to children. One section highlights varieties best suited for a patio/container garden.

The Pinetree garden seed catalog (www.superseeds.com) is a new one for me this year. Pinetree is located in Maine, so I will look through it to locate varieties that may be experimental for me.  They also offer loose tea, such as “Nilgiri – organic, fair trade certified.” They offer culinary herbs, medicinal herbs and dyeing herbs as well as tobaccos for the gardening.  I may try out the Hopi Red Dye Amaranth this year, since I’d really like to try dyeing some of my wool with reds.  Pinetree was my source for the Bhut Jolokia (Ghost Pepper) seeds. It is described as “A legendary variety from India with its extreme heat, said to be one of the hottest pepper[s] in the world with a Scoville rating over 1 million units.”  They take about twice as long as other peppers to mature.  But my youngest daughter and her husband like to try extreme peppers, so this was a good choice for them to try.  Note:  only 20 seeds are in each packet!

It’s a good idea to order seeds (at least for spring) soon, because if a transplant goes in mid-March, but is started indoors 8-10 weeks before planting, that means January is the time to start those seeds!

We’ll talk more about starting seeds in the coming weeks.

The Garden in Winter

“So what should we do with the garden this winter?  It seems like it wasn’t growing things as well as it has in the past.”

That’s the question I was asked this last week. 

My first response was:  if they are not growing any winter vegetables, to bury the garden in leaves – several inches thick, watered down.  Even some cardboard, well moistened.  This will help put organic matter back into the soil.  Another way to help the soil is to grow a cover crop during the winter – maybe hairy vetch – which fixes more nitrogen in the soil. 

Leaves are so plentiful this time of year.  If they do not come from your own lot, you can easily find bags carefully left on the curb – ripe for the removal by scavenging composters and gardeners like me! The last place they should be going is the landfill.  Many community gardens are lacking the carbon/brown needed for a good compost pile – leaves on the curb are an excellent source.

Compost is another treatment you could use for wintering over, layered a few inches deep on top of the soil, and then maybe spreading some azomite to add trace minerals to the garden bed. 

Azomite is said to contain as many as 70 trace minerals that are needed to grow healthy plants.  We have systematically removed these trace minerals from our soils, by growing plants with simple, commercial fertilizers.  The plants take up the trace minerals and, when the plants are removed, so are the minerals.  However if we mineralize the soil, the plants take it up, we eat the plants and our health is improved. Then, when we compost the waste and then put it on the garden, those minerals are returned to the soil.

A good garden soil will be rich and soft. So soft, you can easily grab a handful from deep down.  If it’s dry and dusty, then it is lacking in organic material.

If you are growing winter vegetables, make sure they are mulched deeply. This will not only help the plants weather cold spells, but that mulch will work its way into the soil and help improve soil fertility as well as water-holding capacity.

The bed pictured on the left was well mulched with straw before the cold weather hit.  It is still growing mustard and chard, and the mulch protects the feet of the plants from freezes, as well as holding in moisture – and that protects the plants from cold, drying winter winds. By spring, the straw will have started decomposing and becomes compost to feed new plantings.

And the soil….this is where it all starts!  If the soil is not healthy (read:  full of micro-organisms) then it will not produce healthy plants.  I’ll talk more about soil in another post – as well as give you a way to inexpensively do a soil census of your soil’s living organisms.


INTERPLANTING FOR TWICE THE HARVEST; UPDATE ON MICROGREENS

Interplanting is a technique that is used to obtain twice the harvest from the same space.  For instance, I will plant root vegetables (that use the growing horizon under the surface) with a leafy vegetable (that uses the growing horizon above the surface). One combination I use is carrots and mustard/chard/spinach.  Another combination I like is turnips with bok choy. 
 
Greens
I winter plant my carrots in the midst of other plants (e.g., greens) because the greens protect them (it’s called using nurse plants) until the nurse plants are harvested – usually about the time the carrots are ready to take off (in January and February). That way, I get bunches of carrots when I’m getting ready to plant the spring garden. 
Meanwhile, the greens in my outdoor garden are getting larger.  Every time I harvest some, it seems more grow to take their place.  The red mustard must be at least 15-18” high!  The lettuce is about to bolt, so it’ll go into my salads this week.  I think I’ll plant more red mustard for the color as well as the nutrients.  Of course, the kale is happy, and I see the carrots are starting to take off.
Work is continuing on the compost pile, while the microgreens grow higher – selectively. 
compost-2Bturning
I decided to use three containers for the compost pile, especially since I had 2 containers’ worth of leaves and chicken coop straw.  With a third, I was able to turn the first pile and make sure it was moist.  Green matter from the kitchen was added and mixed in well.  I was able to use a short-handled fork – one that is commonly used to turn over garden areas.  The second container will now be turned into the first, which is now empty.  I’ll probably cover the “completed” one to let it heat up; but I’ll continue to turn it on a weekly or bi-weekly basis to make sure it’s aerated.

The microgreens are about ready to harvest with kitchen shears – at least SOME of them are.  I’ll have to taste them to determine which ones are the fastest growing.  I may share some of these with my chickens. In fact, I’ll probably prepare another tray of microgreens just for them.  At the rate the greens are growing, I could start a tray about every week or two and have a steady supply of tasty salad add-ons throughout the winter!

micro-2Bgrns-2Bwk-2B2

Compost – Otherwise Known as Plant Vitamins

Compost is one of the “vitamins” we offer our plants.  
Compost can be made in a large bin (e.g., 4’x4’ pallets), a wire bin, a tomato cage lined with wire mesh, a trash can (DIY compost tumbler). The important thing is to keep the mix of brown and green, keep it moist (like a sponge) and keep it turned/aerated.
I wanted something smaller for my composting, something I could move about if needed.  Since I had a number of containers used by landscapers to transport trees, I decided to repurpose them.  They are a decent size – about 30” in diameter and about 18-20” deep.  They also have drainage holes in the bottom. 
I wanted them closer to the back door than the compost pile I had 25 years ago, because the easier the access, the more likely I am to deposit food waste into it.  However….the spot was occupied by an old utility trailer covered with scavenged fence pickets.  I spent the afternoon removing nails from the pickets and stacking them elsewhere. 
Trailer
A friend helped me to move the trailer out and the bins in.
Now, the bins already contained leaves from last fall, so I had a head start on the brown for my piles.
Bins-2Bcompost
 A compost pile needs four things:  carbon materials (“brown”), nitrogen materials (“green”), air and water (50-60% moisture content).  If the pile is dry and doesn’t decompose or heat up, it has too much brown or not enough water.  The pile should be moist so that, when squeezed, a few drops of water come out. If the pile is slimy and smelly, it has too much green or wet, and needs more brown and aeration (turning). The rule of thumb is 3 parts brown to 1 part green.
I have the brown, and cleaned out the chicken coop, which gave me some nice chicken manure rich in nitrogen.  I’m also picking up some additional “green” from a friend who has too much of it.  There are also a couple of bags of coffee grounds my daughter brought over from Starbucks, so with some water for moisture I have a good start for composting!
For turning, since the bins are closed on all sides, I found a couple of grill lifters on clearance from Target.  They look like angled forks, and should work sort of like tossing a salad. 
So….what can I include as browns? Well, cardboard (shredded is best), wood ashes (but not much), dead, woody plants (chipped/shredded trees, brush), leaves, grass (brown only), sawdust, straw, dryer lint, vacuum cleaner waste, paper or wood products (e.g., shredded newspaper, magazines if not too much slick paper) and natural fibers (like 100% cotton, wool, silk).  The greens – nitrogen sources – include grass clippings, hay, fresh green leaves, manure, kitchen scraps (no meat!), coffee grounds and tea bags (make sure the filters are biodegradable.
When putting items on the compost pile, think smaller – break or shred or chop larger items so that there is more surface area for the microbes to act upon.  The bigger the pieces of material, the longer they take to break down.

When you turn your pile, break up any clumps that you find.  Turn the pile often – this keeps the pile aerated and anaerated pile heats up with the microbial activity.  And you’ll know when it’s done because it will be crumbly black and rich, and smell earthy.

And, most importantly, turning the pile  keeps the critters out!
UPDATE ON THE MICRO-GREENS
The micro-greens I talked about last week sprouted within two days! I have watered by placing the grow tray in a larger tray with water. This lets the medium and plants soak up what they need. I leave the tray for about an hour or so, then empty the excess water and return the tray to its spot in the sun.  As you can see, the greens are coming along nicely – some are over 2” high. If they keep this up, by the end of 10-14 days I can start harvesting by cutting the greens for salad.  The neat thing about micro-greens is that they pack all the nutrients of the full plant in just the small sprout package!
 

Microgreens-2Bwk-2B1